
A perennial shrub of the Acanthacea family. Commonly referred to as Assam Indigo within Asia and traditionally grown in the favourable conditions found in the mountainous areas of China, Thailand, Burma, North-East India, Vietnam, Bangladesh and more recently Indonesia. It is often the only traditional method of dyeing still utilised by the local communities living in these remote regions.
The plant can reach a meter high and has a mauve trumpet shaped bloom, however when used for dyeing the plant is usually cut prior to flowering. It is preferable growing conditions are 700 to 1200 meters above sea level in a clay soil and shaded from direct sunlight. Assam has a high dye content and produces a dark shade of indigo compared to other varieties. Unlike other indigo-producing plants that are grown from seeds, Assam does very well when grown from cuttings allowing you to replant the stems after removing the leaves for dyeing.

Here in Bali, due to the abundant rainfall around Payangan, Assam grows very well and allows us to harvest our Indigo up to three times a year. Once the plant is ready for harvesting we cut approximately 25-35cm from the ground. After pruning we remove the leaves from the stems and replant the cuttings, maximising the potential crop.

After removing any unwanted debris and separating the leaves into four kilo bundles, we wash them and place the bundles into buckets to soak to begin the process of leaching the dye from the leaves. The leaves are submerged and held down by a woven bamboo grill. It is important they stay fully submerged, with around 1cm of water between the grill and the air.
Depending on ambient temperature fluctuations and water quality the extraction of the indigo dye can take between two and four days. During this period you will see the water turn light green, then blue and finally a purple colour with accompanying bubbles and froth. When it reaches this point remove a leaf and hold it to the light. The leaf should be translucent but still hold its full shape. You do not want the leaf to have started to decay or rot.
Now that the leaves have been sitting in water for a maximum of five days, you can start extracting more of the indigo by squeezing the leaves. Take out a handful and squeeze out as much water as possible. Continue doing so until all the leaves have been removed.
You can either throw the leaves back into the garden or dry them in order to make lye water. Lye water can be used in the preparation of the fabric prior to dyeing.
Grind down 40 grams of hydrated lime per 4kg of leaves. (We prefer making indigo paste with a 1% ratio of lime but you can experiment with more). Once ground, add boiling water to the lime. It should bubble up vigorously if the lime is still active. Be careful as it can burn the skin and the steam it gives off can be harmful if inhaled.
Once the bubbling has subsided, pour through a sieve into the bucket to prevent larger stones from entering the solution. Using a small receptacle and a scooping and pouring motion, start to introduce air into the liquid. The colour of the water will turn from vibrant green to dark indigo and will foam up. Once the foam builds up to a point where it subsides quickly when you stop agitating it, stop this process. Usually this takes around 20 minutes. Leave the contents of the bucket to settle over the next 24 hours and allow the indigo pigment to settle at the bottom.
The following day carefully pour the excess water out. As soon as you see stripes of dark indigo in the pouring water, stop, and pour the remaining water through a textile sieve. The sieve should be a cloth with a very fine weave, allowing the remaining water through but capturing the indigo particles. After completing this process leave again for 24 hours after which you will have the paste sitting in the cloth. If there is water that has settled on the top of the paste stir it in with a spoon. You want the paste to have the consistency of Greek yogurt.

– 15 litres of water at 60 degrees Centigrade
– 1 kilo of indigo paste
– 1 kilo of palm sugar
– 50 grams of hydrated lime
Your vat should be a container of approximately 25 litres in size that can be closed with a lid. It must have a wide enough opening to be able to easily lower your desired textile into.
First heat your 15 litres of water to a temperature of 60 degrees. Set aside a small amount of the water and bring it to the boil to add to the lime and dissolve the palm sugar in another container.
Add the rest of the hot water to the vat then add the paste, the dissolved sugar and finally the lime solution.We always use a metal sieve when adding each ingredient to reduce the chance of large particles ending up in the vat and coming in contact with the textile. When everything has been added, stir for a few minutes and allow the paste to settle on the bottom of the vat. Allow the vat to cool off. (A preferable dying temperature is 25 degrees). Before dying check that the ph is between 10.5 and 11.5 ph . - Some experimentation may be required as different materials require slightly different PH levels to achieve the best results. (Silk and wool prefer a lower ph than cotton and other fibres). The water should be transparent and the colour of tea. To prevent your textile from touching the paste that has settled on the bottom place a grill 5cm above the bottom of the vat. A healthy vat will have an indigo flower floating on the surface of the water. This will look like bubbles bound together and roughly resemble a flower shape. This flower should be carefully removed before introducing any textile in your vat, and then placed back onto the surface after dyeing.
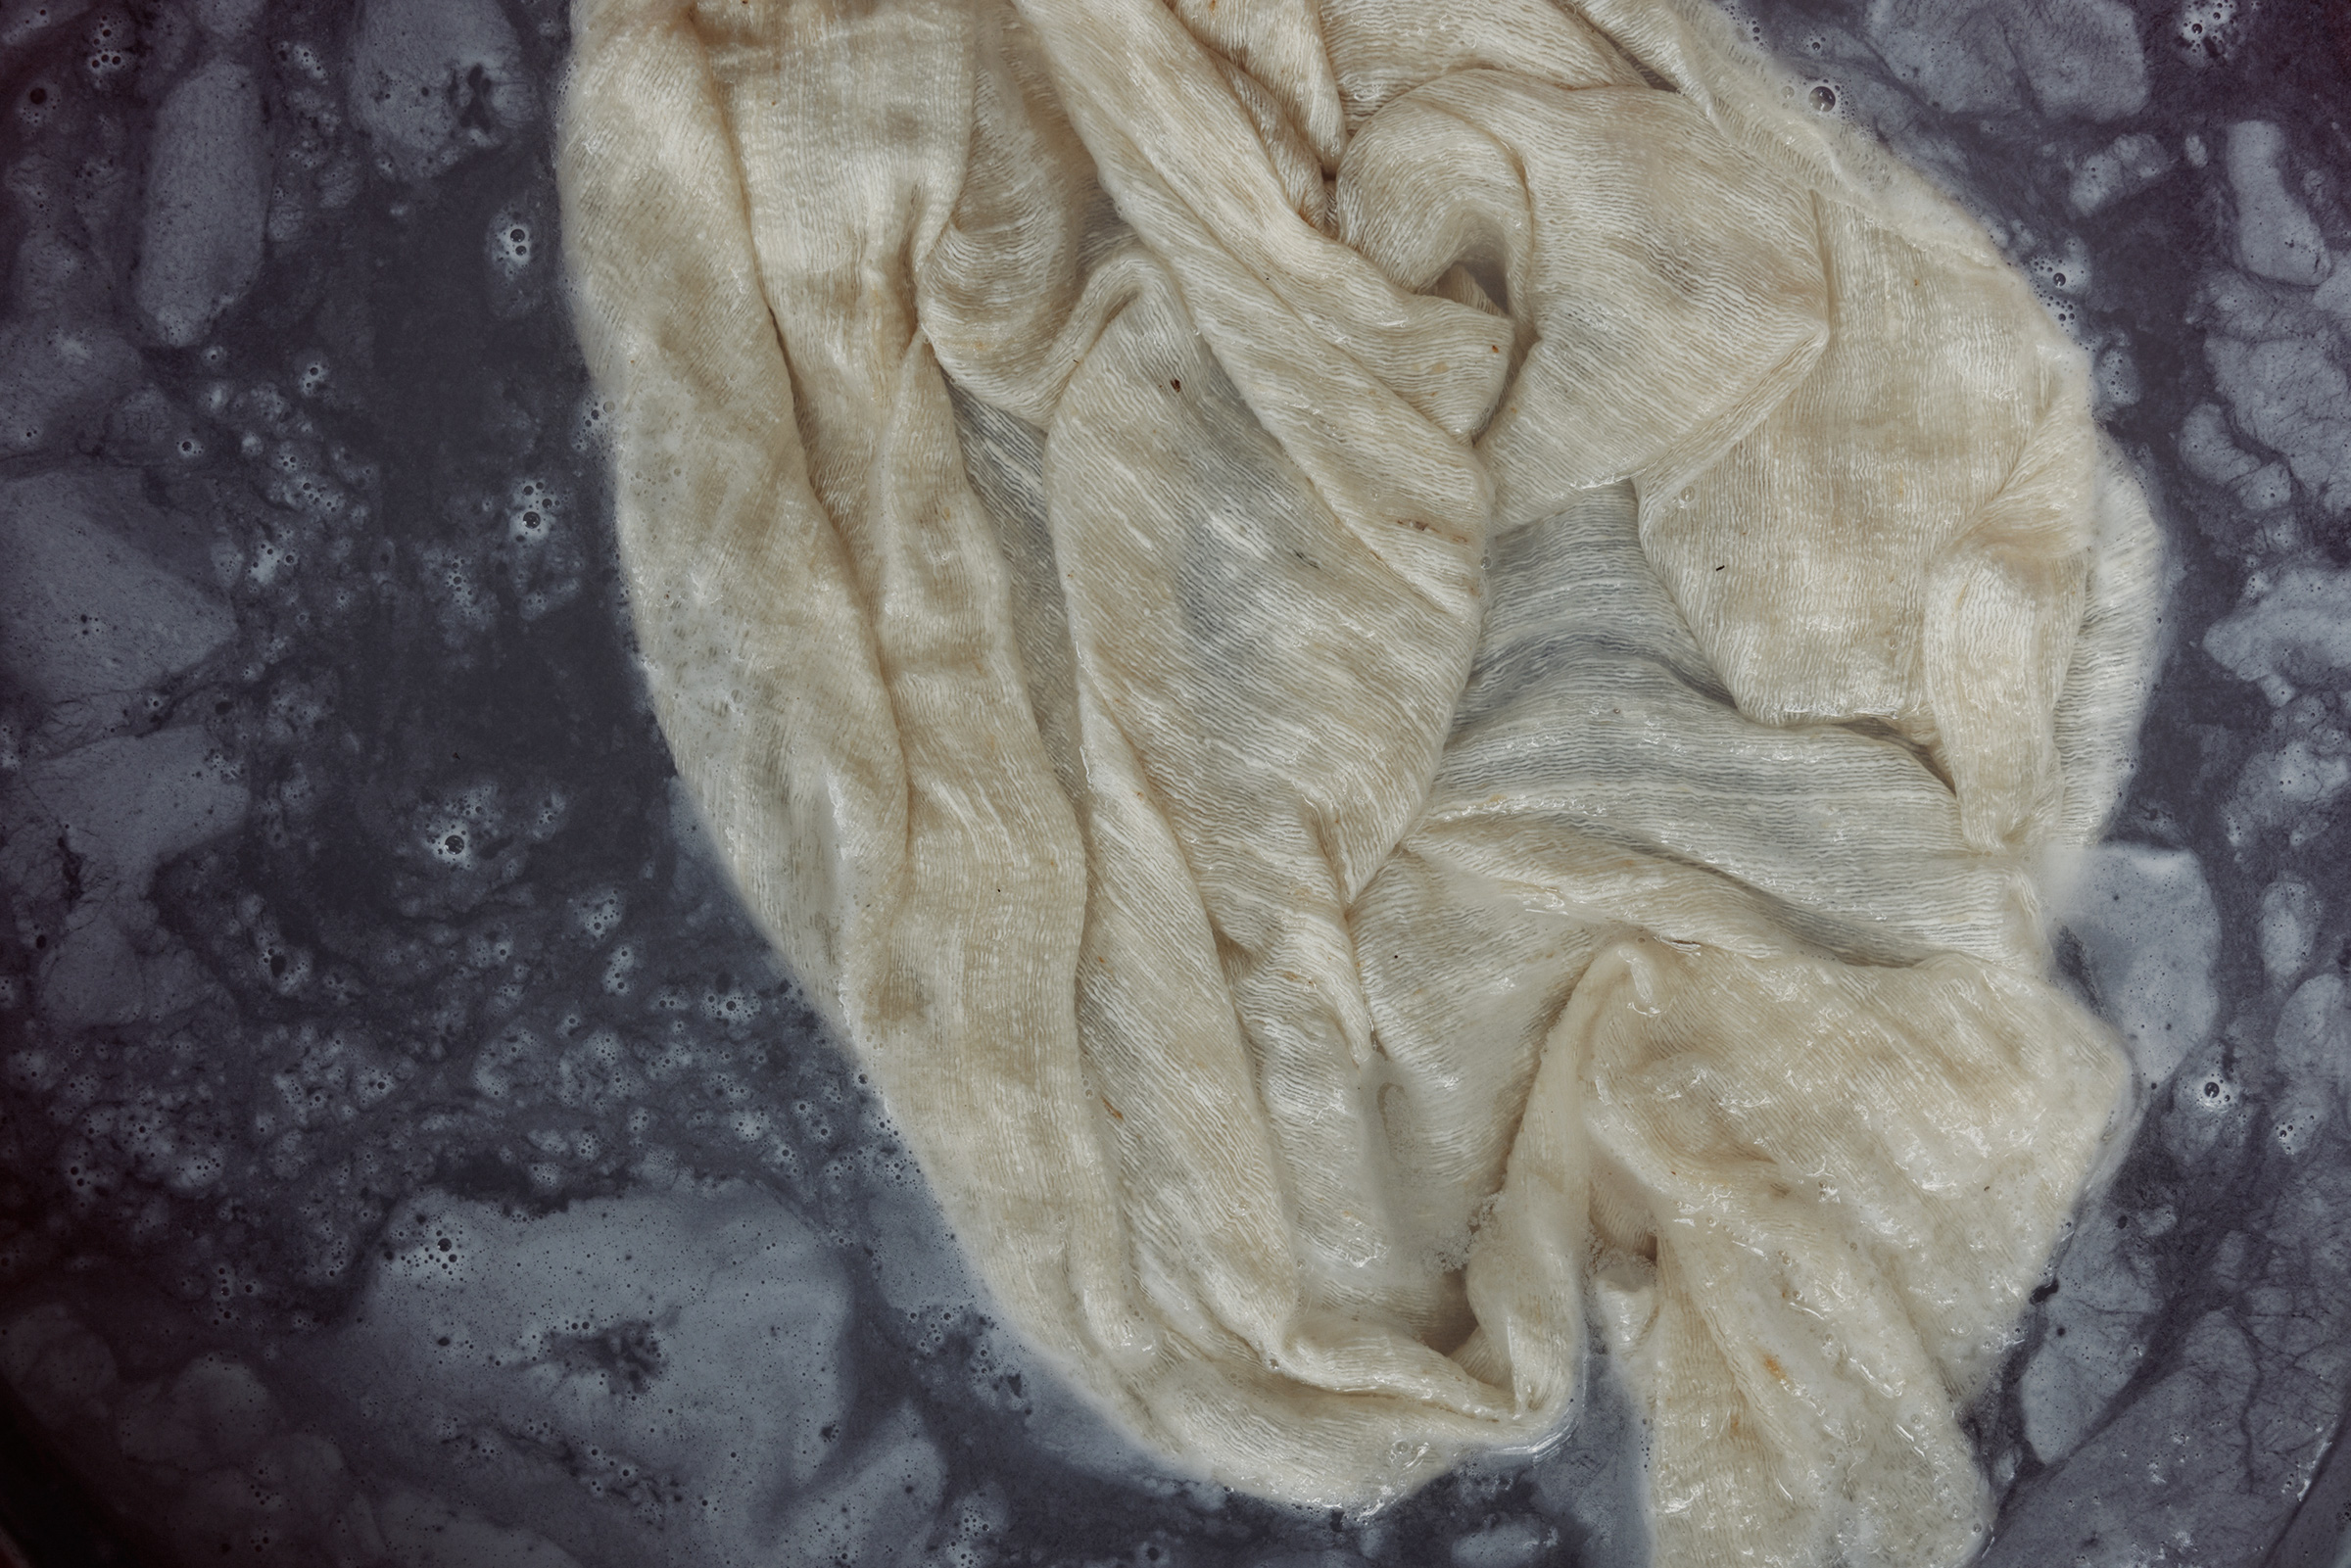
Boil your chosen textile or cloth for one hour with 1tbsp of baking soda to remove any residual toxins or oils that may be left on the material from its production process. After boiling rinse well three times with clean water. At this point submerge the material into a mordant. There are many different theories regarding mordants. Many people use lye water, others alum, some nothing at all. This is something you may want to experiment with to achieve the best results. After your textile has been sitting in the mordant for an hour rinse three times with clean water and hang on a line.

Make sure your cloth is damp prior to beginning the dyeing. When inserting the cloth into the vat, insert gently, making sure no air bubbles are caught between the folds of the material. Once the textile has been completely submerged into the vat, gently massage it to remove any small air bubbles caught between the fibres and to make sure the material is evenly saturated.
Make sure that no part of the textile is exposed to the air while dyeing to prevent premature oxidation taking place. Allow the textile to remain completely submerged in the vat for approximately 5 to 15 minutes before removing it. When lifting the textile out of the vat go slow, using one hand to lift and the other to gently squeeze out the excess water close to surface so as not to create splashes. This is to prevent oxygen re-entering the solution and reducing the longevity of your vat. Allow the textile to oxidize by hanging it in the shade before re-introducing into the vat if a darker shade is desired - the more the dips, the darker the results. The oxidizing process can be observed by watching the textile turn from a vibrant green to indigo. There is no ideal time to leave between dips, however it is worth remembering that the textile should be damp when submerged again. Once the textile has dried the shade of indigo will get lighter and lighter with each wash. Always dip your material a couple of additional times once you have reached your desired shade.

Once you have obtained the shade of indigo desired, you need to vigorously rinse the textile with fresh water until no more indigo colour is visible in the water . Wash with a ph neutral soap and rinse again. Bring a large pot of water to the boil and place your textile into the pot, leaving it submerged until the water has cooled.
In order to help fix the colour add white vinegar to warm water at a ratio of 100ml to 10 litres of water. Leave the textile soaking for three hours and then rinse again at least three times. At this point your textile should be fixed. To prevent any unnecessary fading your textile should not be exposed to direct sun while drying.
